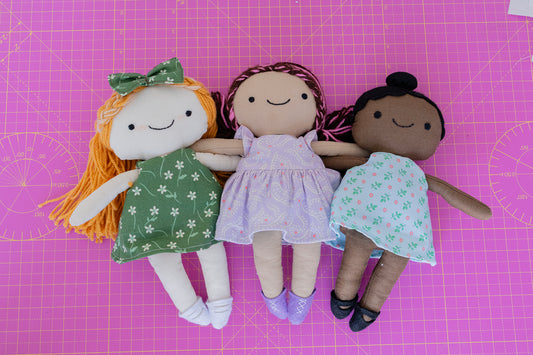
Welcome to our latest crafting tutorial! We're thrilled to introduce our new Podgekins shoe template, which you can download for free here. Perfect for adding a charming touch to your handmade dolls, these shoes are easy to make and can be customised to suit your dolls outfits! Follow our step-by-step guide and soon your dolls will be stepping out in style!

Materials You'll Need:
- Felt sheet (in your choice of colour) it's a great scrap buster, you don't need much!
- Podgekins cloth doll shoe template (download for free [here])
- Scissors and pinking shears if you have them
- Pins
- Fabric pen or chalk
- Needle and thread (matching the felt color)
- Sewing Machine
- Optional: small buttons or other embellishments
Step-by-Step Tutorial:
- Download and Print the Template: Start by downloading the free Podgekins cloth doll shoe template. Print it out at 100% (not fit to page) and cut along the outline.
Prepare the Felt:


- Take your felt and fold it in half to create a double layer. This will make both shoes simultaneously and ensure they are symmetrical. Repeat this by flipping the template to mirror the piece.
Trace the Template:

- Place the template on the folded felt. Using a fabric pen or chalk (whatever will show up best on the felt), trace around the template.
- Carefully pin the two layers of felt together. This will keep them aligned while you sew.
Sew Around the Template Line:
- Using a needle and thread, sew along the traced line, starting at the top edge of the shoe. Small, tight stitches will work best to create a neat finish, make your stitch length 2.2. Ensure you leave an opening at the top of the shoe for turning it right-side out.
Trim Off Excess Felt:

- Once you've sewn around the template, use scissors to trim the excess felt, leaving a small seam allowance (about 1/8 inch) around your stitches. Using pinking shears will allow the fabric more flexibility but don't worry if you don;t have them.
Turn the Shoes Right-Side Out:
- Carefully turn the shoes right-side out through the opening you left. Use a blunt tool (like a chopstick) to push out the corners and edges to achieve a neat shape.
Secure Hand Stitches:


- To prevent the felt from stretching or the seams from coming undone, add a few secure hand stitches around the top opening. This step ensures durability and a tidy finish.
- If making the sandal or Mary Jane style, you may want to add extra stitches to each strap.
Optional Embellishments:

- If you want to add a little extra charm to your doll shoes, sew on small buttons, beads, or other decorative elements. Get creative with colours and styles to match your doll’s personality.
- Add decorative stitches, like for the boots you can do criss-cross stitching to give them the look of lace up boots.
Congratulations! You've just made a pair of adorable shoes for your cloth doll using our free Podgekins template. We hope you enjoy this fun and simple project. Don't forget to share your creations with us on social media using the hashtag #PodgekinsShoes. Happy crafting!


If you would rather watch the tutorial as a video, check it out here:


